

Index page numbers left justified

First of all, this is an easy way to make everything look neat and uniform in your bujo's index. Second, this leaves room for writing in more page numbers for things like threading. And speaking of threading:
Thread collections together for ease of access

Threading is when you "link" any sort of related collections in your bullet journal. For example, I had some planning pages for a school project on page 41. I first started it on that page, but I later ran out of room on that first spread. So, I continued planning on page 56. I could index the page 56 spread separately as "part 2" of the spread, and this is what I used to do, but it made it harder and took a lot longer to find the specific spread I wanted if I was just glancing through my index. Instead, I wrote "--> 56" where I had originally indexed the page 41 version of the spread, and I do the same thing on the pages themselves.
This is why I also made sure to leave several columns of grid space for the page number area when I drew out my index.
Color code months in your index
 |
| The second page of my index from my second bullet journal (you can see a bit of the pen test page to the right) |
When I index my months, I index it from the very first page that I use in that month (my monthly spread) to the very last page of month (the page before the next month's monthly spread). I also color code it, so I write it in the color scheme that I used for that particular month's setup.
For example, I wrote "JUNE 2017" in the same purple pens that I used for my setup this month. This adds a bit of color to your index (which is just pretty), but it also adds some organization and breaks up the huge block of text, thus making it easierto find each spread in your bujo's index.
Start out minimally and close to the original system
When you're setting up your bullet journal for the first time, I suggest sticking close to the original system. That way, you don't get stuck starting with something overly complicated that takes up too much of your time, consequently discouraging you from continuing to use a bujo in the future and/or wasting your time. Plus, it's generally better to add your own tweaks as you need them, unless you really think about your first bullet journal setup and all of the specific things that you need in a planner like I did.
Don't waste time in daily spreads with "useless" things
 |
| From my post about things I learned from one month of using a bujo // OurJourneyinJournals.blogspot.com |
By useless things, I mean putting "school" as an event bullet if you go to school every day; it just wastes your time and space in daily spreads. The same goes for tasks you've already done; I admit, I used to do this a lot where I would write down previously completed tasks just so that I could immediately tick them off, but this false sense of productivity is not good for actually getting things done and truly being productive.
Don't track things just for the sake of it
| Also from the "things I learned" post: I used to track whenever I washed the dishes, but it did nothing for me // OurJourneyinJournals.blogspot.com |
This goes along with the last point, but tracking things in your habit tracker that you don't need is a huge hassle. Again, this wastes your time, both when you're creating your tracker spread and when you're filling out your tracker. Instead, just think for a bit to determine whether or not tracking this certain habit is actually helpful to your life.
Have some sort of contact info in the beginning of your bujo
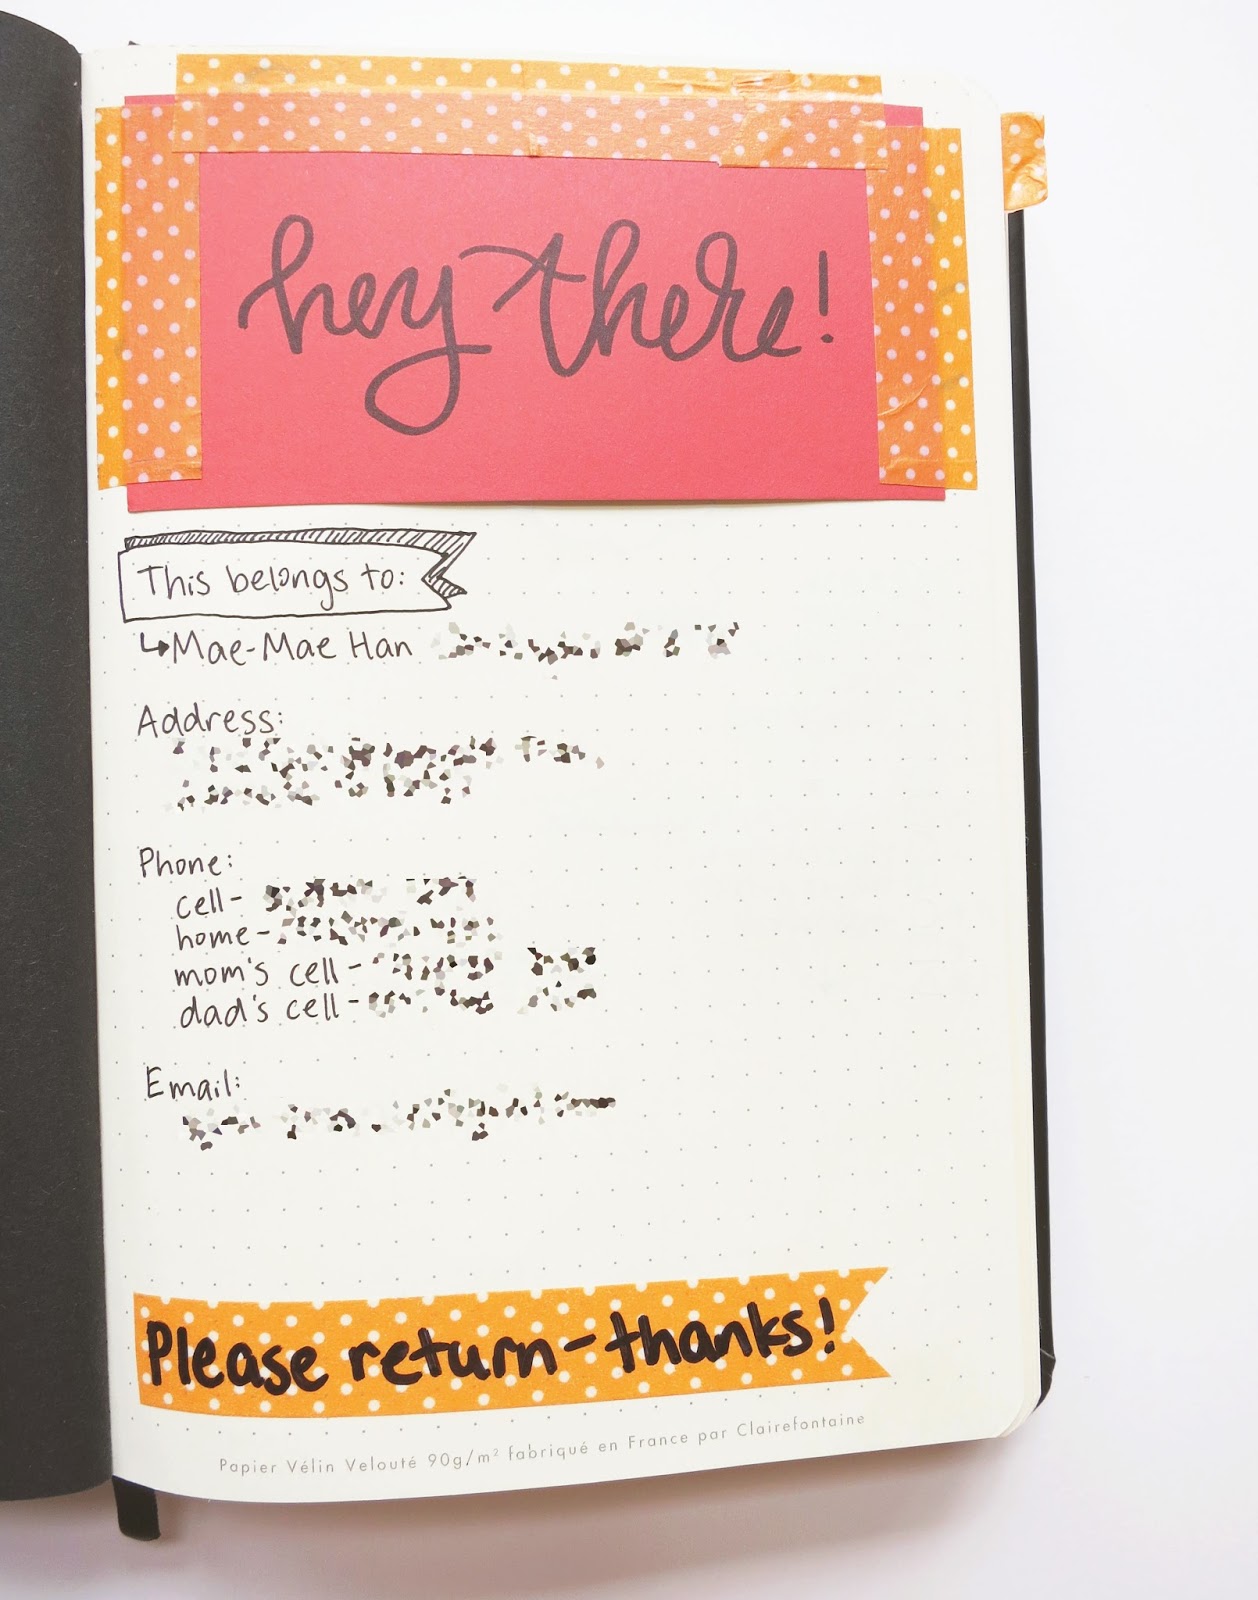 |
| From my August 2016 bujo setup // OurJourneyinJournals.blogspot.com |
Of course, this is only applicable if you bring your bullet journal around with you outside of your home, but you should include some sort of contact information in the front in case you lose it. If your notebook doesn't have a dedicated area for this before the "real" pages, you can devote the very first page of your bujo to this, which is what I do; your name, an email address or phone number to reach you, and possibly a reward is sufficient.
A consistent color scheme is an easy way to make things like nice
Something I've learned in my adventures of bullet journaling and studyblr is that the easiest way to make pages look pretty with minimal effort is with a consistent color scheme. If you stick with a specific color (or colors) throughout the entire spread (especially if you use the same exact pens, markers, washi tape, etc.), then the cohesiveness often automatically makes it look nice. I do this with my monthly spreads, as you can see in my setups and some of my Instagram posts.
If aesthetic layouts make you happy (like most of us), then this is a pretty simple technique to create them yourself. There are also some other easy ways to decorate your pages, though I've already covered those in a blog post.
Marshall's has lots of cute and cheap notebooks
 |
| My May bujo setup from last year (2016 ) // OurJourneyinJournals.blogspot.com |
This is a general stationery related thing (not specifically bullet journal), but if you live in the US or Canada, Marshall's has a great section of really pretty journals and notebooks that generally range from about only $3 to $5 (USD). I actually got the notebook that I used as my first bujo from Marshall's for $3, and I've gotten a bunch of other notebooks from there, too.
I'm not entirely sure, but I think TJ Maxx in the US (or TK Maxx in the UK, Australia, Ireland, Germany, Poland, Austria and the Netherlands) also has a good selection of inexpensive, yet cute notebooks.
Draw inspiration from others instead of comparing them to yourself
Each person's bullet journal is unique, and it's not fair nor reasonable to compare the appearance of your bullet journal to that of others; the most important thing is that it works well for you and helps you get things done. So, instead of feeling like your own bujo is "insufficient", use pictures of other people's spreads as sources of inspiration instead of feeling pressured or getting stressed or anxious to make your own bullet journal as pretty or perfect as possible.
Also, remember that people show their best selves on social media, so don't compare your behind-the-scenes to other people's highlight reel!
There are also a lot of common myths and misconceptions that I've talked about before, but I hope that these tips that I covered today were helpful for you, regardless if you're a bujo newbie or expert.

No comments:
Post a Comment